Mastering Pizza on the Kamado Joe
Christian Vargas • March 28, 2025

March 28, 2025

The art of making pizza is a culinary journey. It’s a process that combines creativity, precision, and a touch of adventure.

When it comes to outdoor cooking, the Kamado Joe stands out. This versatile grill can transform your backyard into a gourmet pizzeria.

Our guide will help you master pizza on the Kamado Joe. We’ll cover everything from dough preparation to the perfect kamado joe pizza setup.

You’ll learn about the unique benefits of kamado pizza. We’ll also share tips for achieving that perfect, crispy crust and well-melted cheese.

Whether you’re a seasoned home chef or a beginner, this guide is for you. It’s time to turn your pizza dreams into delicious reality.

So, are you ready to embark on this exciting culinary adventure? Let’s dive in and start mastering pizza on the Kamado Joe.

The Kamado Joe Advantage

The Kamado Joe is known for its ability to harness even heat distribution and high temperatures. These features make it ideal for pizza-making. With its ceramic structure, the Kamado Joe mimics a traditional brick oven, which is perfect for achieving that authentic pizza flavor.

One remarkable advantage of using a Kamado Joe is its adaptability. You can easily switch between direct and indirect cooking methods, which provides flexibility. This versatility allows you to experiment with different pizza styles, all while maintaining control over the cooking environment. With the Kamado Joe, your pizza possibilities are endless.

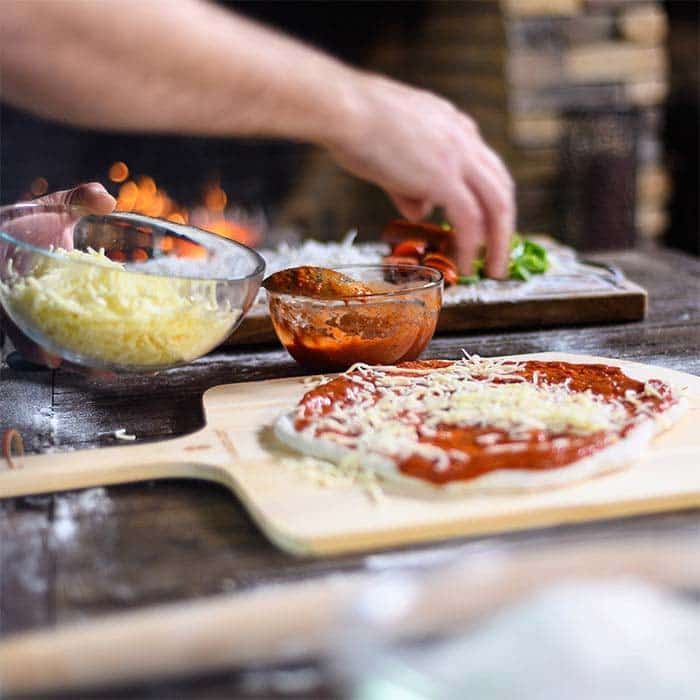
Pizza ingredients on a counter, with dough, sauce, cheese, and hands assembling a pizza in the background

Essential Tools for Kamado Pizza Perfection

Creating the perfect kamado pizza requires the right tools. These tools help in preparing and cooking your pizza with precision. They also enhance the overall cooking experience, making it both enjoyable and efficient.

Here’s a list of essential tools you’ll need:

  • Pizza stone
  • Pizza peel
  • Heat deflector
  • Infrared thermometer
  • High-quality tongs

Each tool plays a crucial role in achieving that perfect crust and flavor. The pizza stone ensures even cooking by distributing heat uniformly. Meanwhile, the infrared thermometer helps you monitor the grill’s temperature accurately, ensuring consistent results every time you cook.

Preparing Your Kamado Joe for Pizza

Before you start cooking, set up your Kamado Joe correctly. This is vital for achieving an even bake and a crispy crust. Each step ensures that your kamado pizza cooks perfectly and thoroughly.

Begin by preheating your Kamado Joe. Aim for a consistent temperature of around 500°F, which is ideal for pizza making. Use your infrared thermometer to check that the temperature is correct before placing your pizza stone in the grill.

Next, place the heat deflector and pizza stone inside. Allow the stone to preheat for at least 30 minutes. This will prevent your pizza from sticking and ensure even cooking. Proper setup is key to mastering pizza on the Kamado Joe!

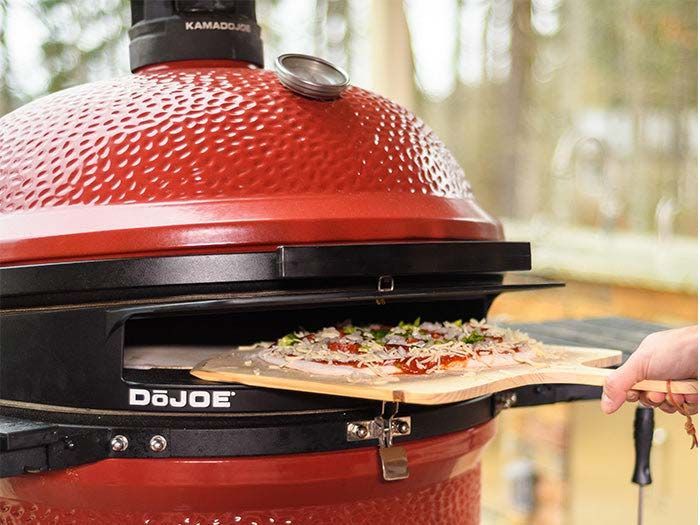
Pizza being pulled from a red domed outdoor grill with a wooden peel

Crafting the Ultimate Kamado Joe Pizza Dough

Creating exceptional kamado pizza starts with the dough. The right foundation makes all the difference in both texture and taste. Start by selecting high-quality flour, ideally a blend of bread and ’00’ flour. This blend ensures a balanced stretchiness and crispness.

Yeast activation is crucial. Combine warm water, a touch of sugar, and yeast. Allow it to bubble and foam, signaling active yeast. This step is fundamental for achieving that sought-after airy crust.

Mix the activated yeast with flour, salt, and olive oil. Knead the dough until smooth and elastic. Hand kneading can take 8 to 10 minutes, but it’s well worth the effort.

Lastly, let the dough rise. A couple of hours in a warm place will suffice. However, for deeper flavor, refrigerate the dough overnight. This slow fermentation enhances the dough’s character and taste. Enjoy experimenting with your kamado joe pizza dough recipe!

Check out some ideas for dough recipes!

Shaping and Topping Your Pizza

Begin with well-rested dough. This ensures pliability, making the shaping process smoother and easier. Gently press and stretch the dough into your desired shape. Aim for uniform thickness to ensure even cooking.

Proper stretching is key to a perfect crust. Use your hands, guiding the dough from the center outward. Allow gravity to help if needed. Be gentle to avoid tears, yet firm enough to create your desired size.

Toppings play an essential role in flavor. Select fresh ingredients, balancing flavors and textures. For a classic approach, use tomato sauce, mozzarella, and basil. Creativity is encouraged, but don’t overload the pizza to avoid sogginess.

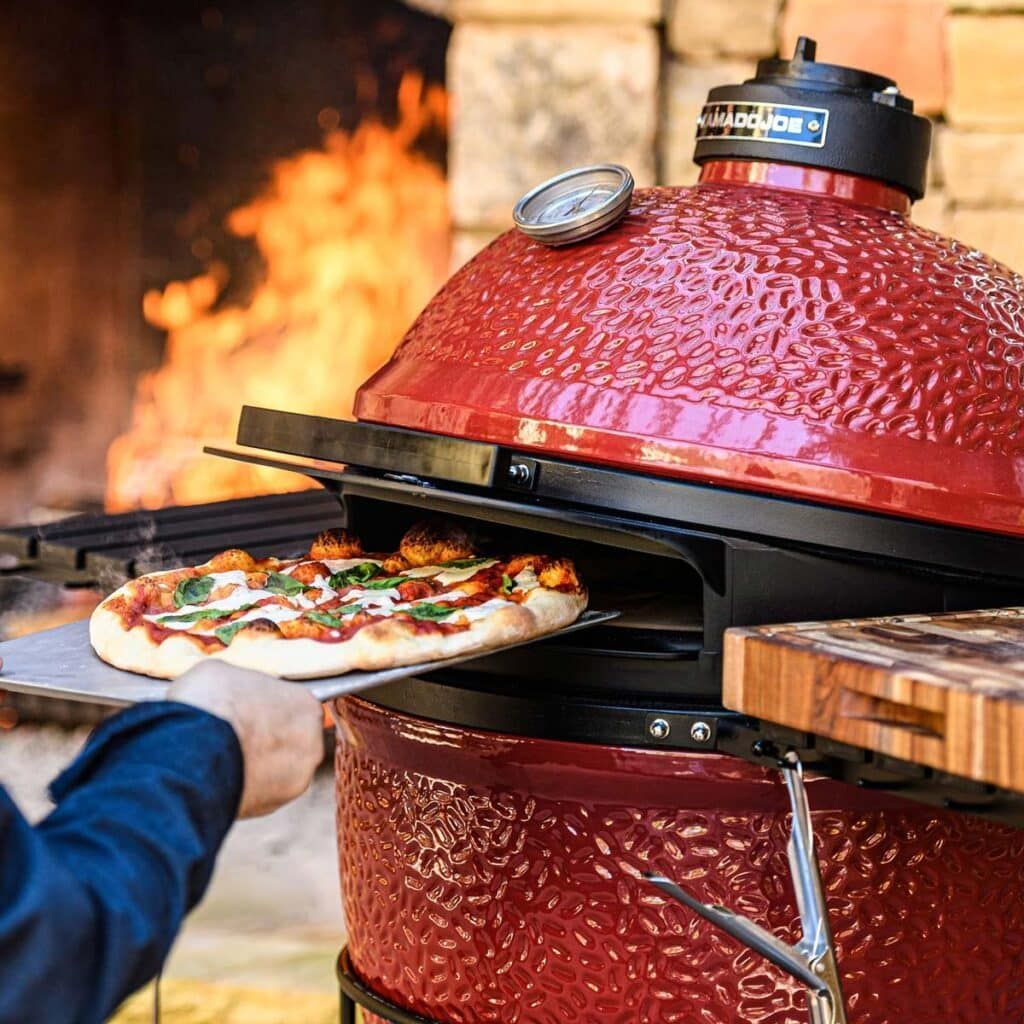
Person sliding a pizza into a red ceramic outdoor pizza oven with a fire burning inside

The Art of Cooking Pizza on the Kamado Joe

Cooking pizza on the Kamado Joe is an art that requires patience and precision. Start by preheating the grill to a high temperature, ideally between 450-500°F. This heat mimics traditional pizza ovens, ensuring a crisp crust and evenly melted cheese.

Once preheated, the setup becomes crucial. Use a pizza stone placed directly on the grill grate to mimic the effects of a stone oven. The stone should be hot to the touch, as this helps achieve that sought-after crispy base.

Carefully transfer your assembled pizza onto the stone. A well-floured pizza peel is your best friend here, preventing the dough from sticking. Aim for a swift motion to ensure a smooth transfer.

Monitor the pizza closely as it cooks. In just 7-10 minutes, your pizza will develop a golden-brown crust. Check for bubbling cheese and a firm crust edge before removing it from the Kamado Joe.

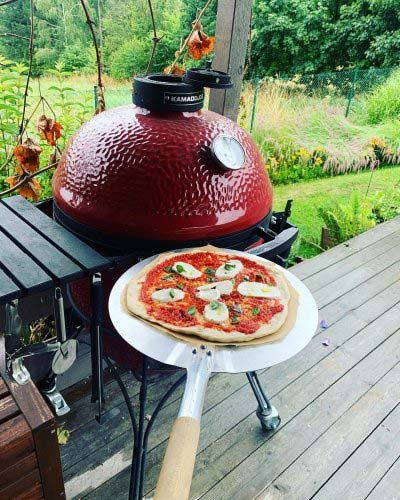
Fresh pizza on a peel beside a red dome grill on a wooden deck overlooking a green garden

Post-Cooking Tips: Resting, Serving, and Cleaning

After removing your pizza from the Kamado Joe, let it rest for a few minutes. This brief pause allows the cheese to settle and the crust to firm up slightly. The resting phase enhances flavor and makes slicing easier.

When you’re ready to serve, use a quality pizza cutter for clean, even slices. Pair your pizza with a complementary beverage to elevate the dining experience. Remember, presentation is key; a well-arranged plate adds to the visual appeal.

Finally, clean your Kamado Joe after it cools down. Remove residue from the pizza stone with a brush and clear any debris from the grill. Proper maintenance ensures your equipment remains in top condition for the next pizza night.

Common Pitfalls and How to Avoid Them

Making pizza on the Kamado Joe can be tricky at first. One common mistake is not preheating the grill properly. Ensure your Kamado reaches the right temperature before adding your pizza to prevent a soggy crust.

Another error is using too much flour when handling the dough. Excess flour can burn on the pizza stone, altering the flavor of the pizza. Use just enough flour for a non-stick surface while shaping the dough.

Lastly, overcrowding toppings can lead to an uneven cook. Balance the number of toppings for even heat distribution and to keep the crust from becoming limp. Use high-quality toppings for the best results.

Expanding Your Kamado Pizza Repertoire

Variety is the spice of life, and the same goes for pizza. Explore different styles, like Neapolitan or New York-style, on your Kamado Joe. Each style offers unique flavors and textures.

Don’t shy away from experimenting with toppings. Try seasonal ingredients or even create dessert pizzas. The Kamado Joe is versatile enough to bring all your culinary ideas to life.

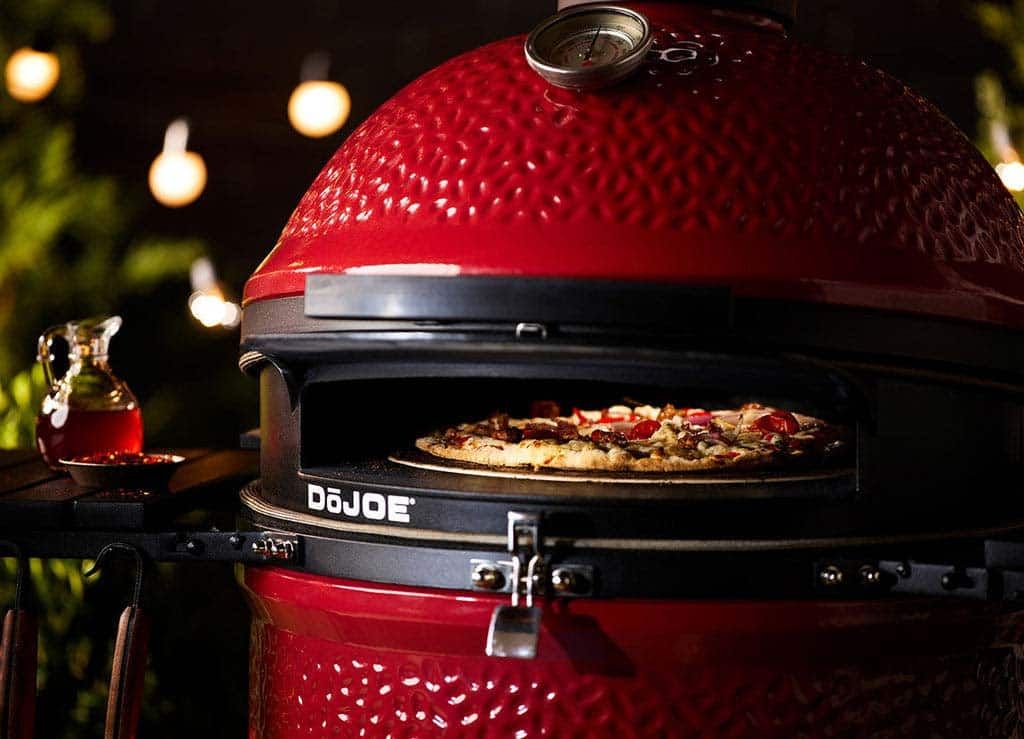
Red ceramic pizza oven with a pizza baking inside, lit warmly in a dark setting

Kamado Joe Grills Offered by Paradise Outdoor Kitchens

Selecting the right Kamado Joe grill is essential for achieving your pizza-making goals. Paradise Outdoor Kitchens offers several high-quality options suitable for various cooking styles and spaces. Whether you’re looking for portability, versatility, or ample cooking space, you’ll find a Kamado Joe grill perfect for your needs.

Here are some of the popular models available:

  • Kamado Joe Joe Jr.: A compact and portable 13.5-inch ceramic grill with 150 square inches of cooking space, ideal for smaller gatherings or cooking on the go.
  • Kamado Joe Classic Joe Series III: This versatile 18-inch ceramic grill features 250 square inches of cooking space and the 2-Tier Divide & Conquer® Flexible Cooking System, allowing you to cook multiple dishes simultaneously.
  • Kamado Joe Big Joe Series III: Offering an expansive 450 square inches of cooking space, this 24-inch grill includes the innovative 3-Tier Divide & Conquer® Flexible Cooking System and SlōRoller® Hyperbolic Insert, ideal for serious outdoor cooks.
  • Kamado Joe Stand-Alone 18″: Specifically designed for outdoor kitchen setups, this model provides 250 square inches of cooking space and advanced features like the Kontrol Tower® Top Vent and Air Lift™hinge for precise temperature management.
  • Kamado Joe Big Joe Classic II: A robust 24-inch ceramic grill equipped with 450 square inches of cooking space, featuring the efficient 2-Tier Divide & Conquer® Flexible Cooking System and Air Lift™hinge.

Each grill is built to enhance your pizza-making experience, providing the versatility, control, and quality you need to create amazing outdoor culinary masterpieces.

Stainless steel kitchen range hood mounted on a white tiled wall.
By Christian Vargas January 27, 2026
Creating the perfect outdoor kitchen involves more than just selecting premium grills and beautiful countertops. One critical component that many homeowners overlook is proper ventilation. An outdoor kitchen ventilation hood is essential for maintaining a comfortable, smoke-free cooking environment while protecting your investment from grease buildup and heat damage. Why Your Outdoor Kitchen Needs Professional […] The post Outdoor Kitchen Ventilation Hood Solutions for Smoke-Free Cooking first appeared on Paradise Outdoor Kitchens.
Red grill with lid open, sizzling steaks, smoke rising, and a beer on a sunny patio table
By Christian Vargas January 13, 2026
At Paradise Outdoor Kitchens, we believe your backyard should be a place where great food and meaningful moments come together. That is why we offer premium options like kamado ceramic grills as part of our outdoor kitchen designs. These grills provide exceptional cooking performance, heat control, and long-lasting durability, making them a popular choice for […] The post How Kamado Ceramic Grills Elevate Your Outdoor Kitchen Experience first appeared on Paradise Outdoor Kitchens.
Covered outdoor patio with built-in stone grill, sink, and countertop, surrounded by tropical greenery
By Christian Vargas December 19, 2025
When you imagine the perfect backyard retreat in South Florida, picture a pergola over an outdoor kitchen space that invites friends and family to gather, cook, and enjoy warm evenings together. At Paradise Outdoor Kitchens, outdoor living is about more than cooking outside. It is about creating moments in a space that feels like a […] The post Elevate Your Backyard Living with a Pergola Over an Outdoor Kitchen in South Florida first appeared on Paradise Outdoor Kitchens.
Show More →